Cyanotype In-Camera Imaging - Part 2
In Part 1, I went over some history, and the things you have to think about differently when working with in-camera cyanotype.

In this part, I will provide a simple design and instructions on how to build it. The design is based around the lens of a Google Cardboard VR headset. These are cheap and easy to obtain. There are two common versions - one is roughly f/1.5 and the other about f/1.2, and they also have differing diameters. As this also results in different focal lengths, there needs to be a couple of changes to support both versions. Further, the design is flexible enough that almost any lightweight lens can be used with some modifications to the dimensions.
Materials
- Black Gaffa Tape. Not duct tape, gaffa. It makes a difference.
- Clear packing tape or good-quality sellotape.
- 2 A4 sheets of dark (not black) 210-250gsm card
- 1 25mm diameter/38mm (f/1.5) or 37mm diameter/45mm (f/1.2) lens (or similar, see below)
- 1 small coin or metal washer
- An A7 piece of baking parchment, wax paper, or similar tough but translucent material
- A credit card or similar as a template
- A roughly 3.5cm square of 5-10mm balsa (optional)
- High strength double-sided tape. (optional)
- A printer
To take cyanotype negatives, you will also need a supply of cyanotype paper or the means to make it. This paper will need to be trimmed to A7 size. I discuss paper selection in Part 1. See the bottom of this article for some solution suppliers and manufacturers.
Method
Note: Some photos do not exactly correspond to the descriptive text, as the procedure has been refined somewhat since the build that was photographed. The example build is of a 25mm version.
- Download the appropriate template for your lens. If you have a 37mm lens your camera will be slightly deeper than the 25mm version.
25mm lens template
37mm lens template
If you have a lens of another focal length, go to
https://andylei.github.io/paperbox
And use the following parameters:- Paper size: A4
- Unit: Millimeters
- Card Width: 74mm
- Card Height: 105mm
- Box Depth: Use the focal length of the lens, +1mm. This will allow for the depth of the negative carrier tray, and of the negative itself.
- Box Color: White (255,255,255)
- Drawer Style: Tray
Leave all other parameters blank
- Cut out the box template. Leave the tray sheet to one side for now.


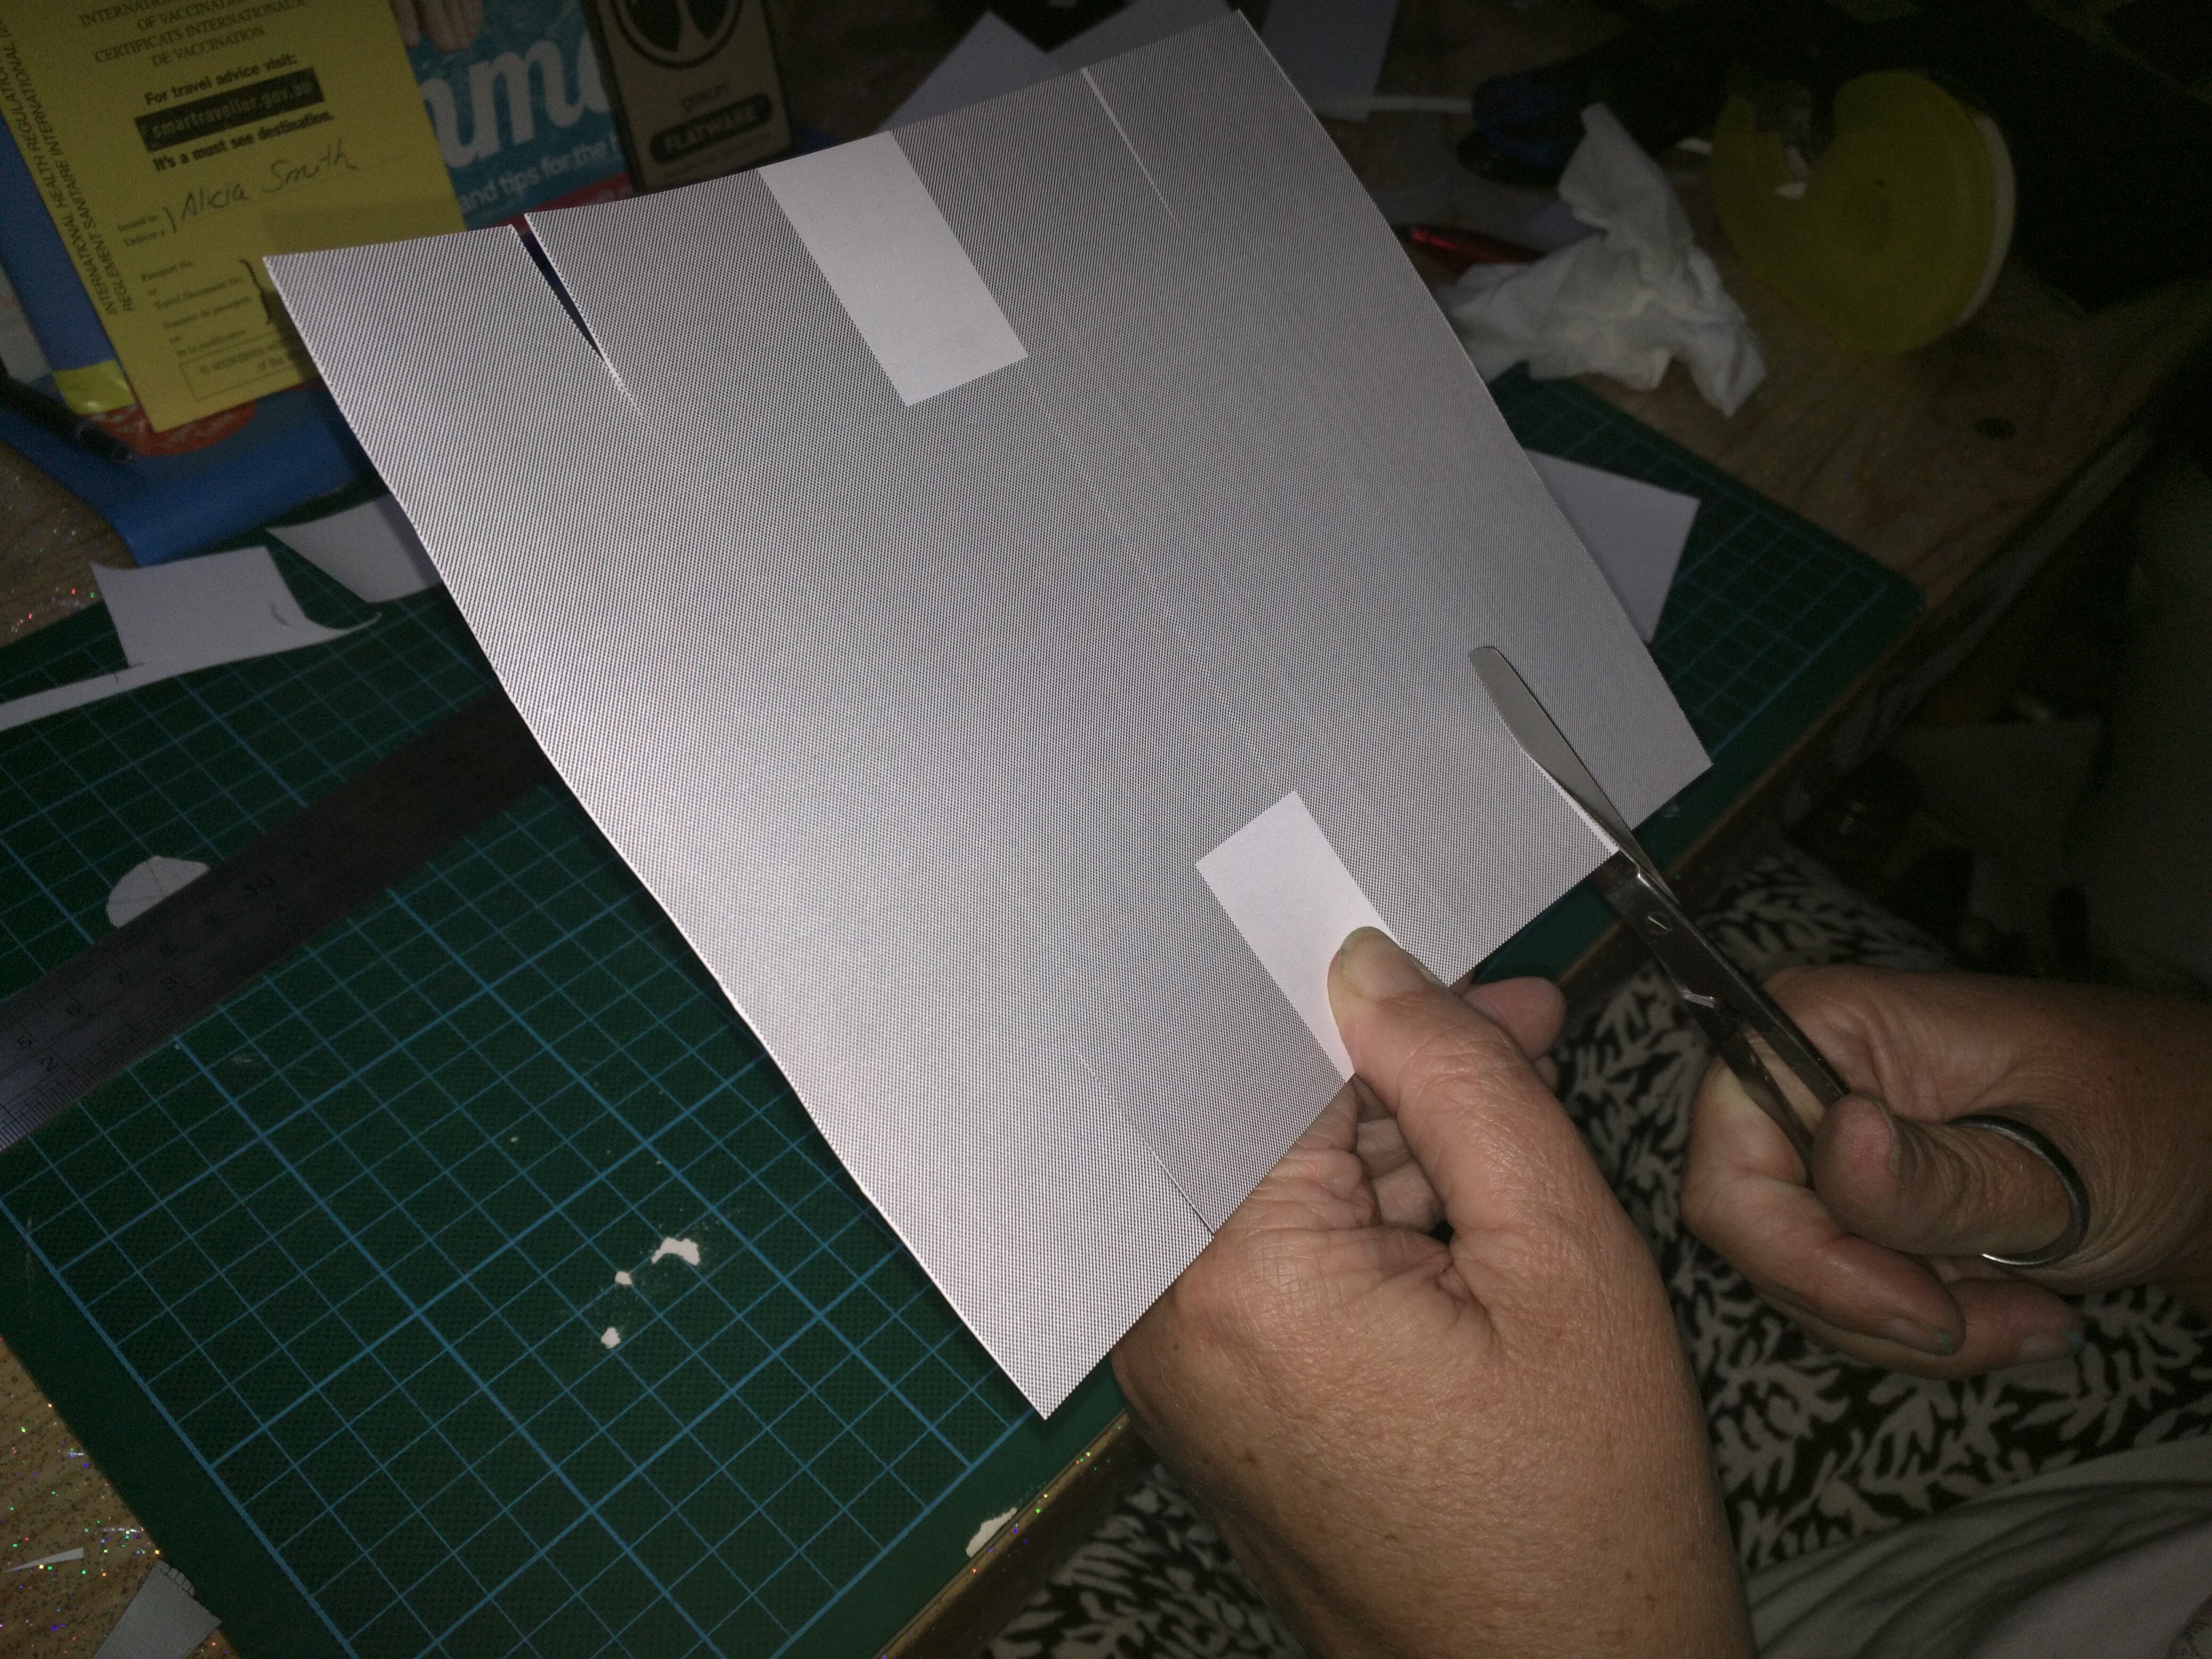
 Note the additional cut lines at the top flap (third image). Cut from the edge to the start of the darker line. Also, there is a semi-circular notch marked on one edge. Ignore it. Lastly, if there are any open lines, cut to join them. (This may happen right at the edges of the page.)
 - On each of the large faces, draw a cross from corner to corner to find the centre.

- Centre your lens on one of the crosses, and draw a circle around it.

- Centre the credit card on the other cross, and draw around that.

- Working approximately 1mm inside the circle's edge, make a hole. This will be one side of your lens holder and aperture. The circle does not have to be perfect, but must be smaller than the diameter of the lens.

- Take an off-cut piece of card, and cut a square twice the diameter of your lens.

- Repeat steps 3-6 to make the front of your lens holder.
- Cut out the credit card outline. This will become your viewfinder.

- Pre-fold all other lines using a straight-edge to keep them sharp.

- Lay the piece of translucent paper flat, and place the viewfinder window over it, with the folds upwards (so the paper will be on the outside. Use the clear sellotape or packing tape to attach it to the card. Then turn it over, and apply small strips of gaffa to secure it from the outside as well.

- Place your unfolded box outside up on a clean cloth surface, and centre your lens on the hole in the front of the camera. Place the front lens-holder card over it, and secure with packing tape.

- Now fold the box together, making the joins with sellotape or packing tape. Start by applying a strip of tape to the long edge that will fold into the bottom of the box, and then fold it into place and press to bond. Tape up the double end-flaps, but leave the single one open.
- Use gaffa tape to seal all gaps and seams, and to stabilise the box.

- Take another off-cut to make another square approximately twice the diameter of the lens, and attach the coin or washer to one side using gaffa tape. Attach it to the front of the camera on the bottom edge, so that it can be folded up to cover the lens.
- Use another off-cut to make a 4cm strip that is as long as the box. Attach it to the top of the box so that half of it projects over the viewfinder. This will shade it somewhat.

- Optional: Use a piece of double-sided tape to attach the balsa square to the middle of the bottom of the camera. This can be used with a standard Arca-compatible quick-release clamp to attach the camera to a tripod.
- The camera itself is now complete.


The next part is to make a carrier for your sensitised paper.
- Cut out the template, but do not cut into the two deep "U" shapes on either side - just cut a straight line along the edge. Do cut the deep "V"s.

- At the bottom of each U, cut along the fold-line between the sides of the U, and then cut .5mm-1mm up the sides.

- Fold the two small tabs up, so that they are just past vertical. These will secure your 'film'.

- Using a straightedge, pre-fold all other lines except for the sides of the 'U's.

- Fold the tray together and secure with packing tape. The long sides go on the outside of the fingers.


The carrier is now complete.
To use, use the viewfinder to aim your camera at your subject, and secure it in some way. Then take an A7 piece of sensitised paper and insert it into the carrier tray. Use the two tabs at the bottom of the tray to hold it in place. Insert the tray into the camera, and close the flap. Use a light rubber band or small piece of removable tape to hold it closed.

At the end of the exposure, you can use a light rubber band to close the lens cover. Remove the tray and the sensitised paper. Protect the paper from sunlight until you have scanned it and then washed it. You can scan it after washing as well, but at that time it is now a fixed image that does not require any special handling.
If you have the time and the materials to hand, you can immediately re-load the camera for a second exposure.
Caution: Under no circumstances should you allow your camera to have direct sun fall on the lens. At best this will scorch your paper, and at worst could set fire to your camera. You will have the most success with the camera pointing directly away from the sun, to maximise the reflected light entering the lens.
Good luck, and happy imaging! If you have any refinements to suggest, or encounter any problems with the build, let me know in the comments.
Sensitising Solution Sources
Jacquard Products produce a reliable pre-packaged set of the classic solution. They are available in most countries. https://www.jacquardproducts.com/cyanotype
In Australia, Gold Street Studios are an excellent source of chemicals and pre-made solutions.
In the USA, try http://stores.photoformulary.com
For paper supplies, any good art store will be able to supply appropriate paper


Comments
Post a Comment