Back in October last year, I picked up some "Solarprint" paper from an educational supply house that was having a sale. For some weeks I thought about what to do with it, and eventually decided that the usual path of making contact prints or photograms with it was a bit too dull, and that I would build a camera and take photos with it.
Now I am by no means the first person to do this - although the idea of producing cyanotype camera negatives is surprisingly recent. As far as I can tell, the first person to do it was photographer, John Beaver, in 1999 - over 150 years after the development of the chemistry! More recently, blogger Nag on the Lake published a how-to for cardboard cameras in 2019. Meanwhile, Ray Christopher has been experimenting with using cyanotype paper as a medium-format negative.
The cyanotype process chemistry is rather unusual in that is not particularly sensitive to visible light. It is most sensitive to UVA down to the visible spectrum. One of the side effects of this is that it does not 'see' the same way we do. It also means that many modern photographic lenses cannot be used, as they are coated to block UVA/B light.
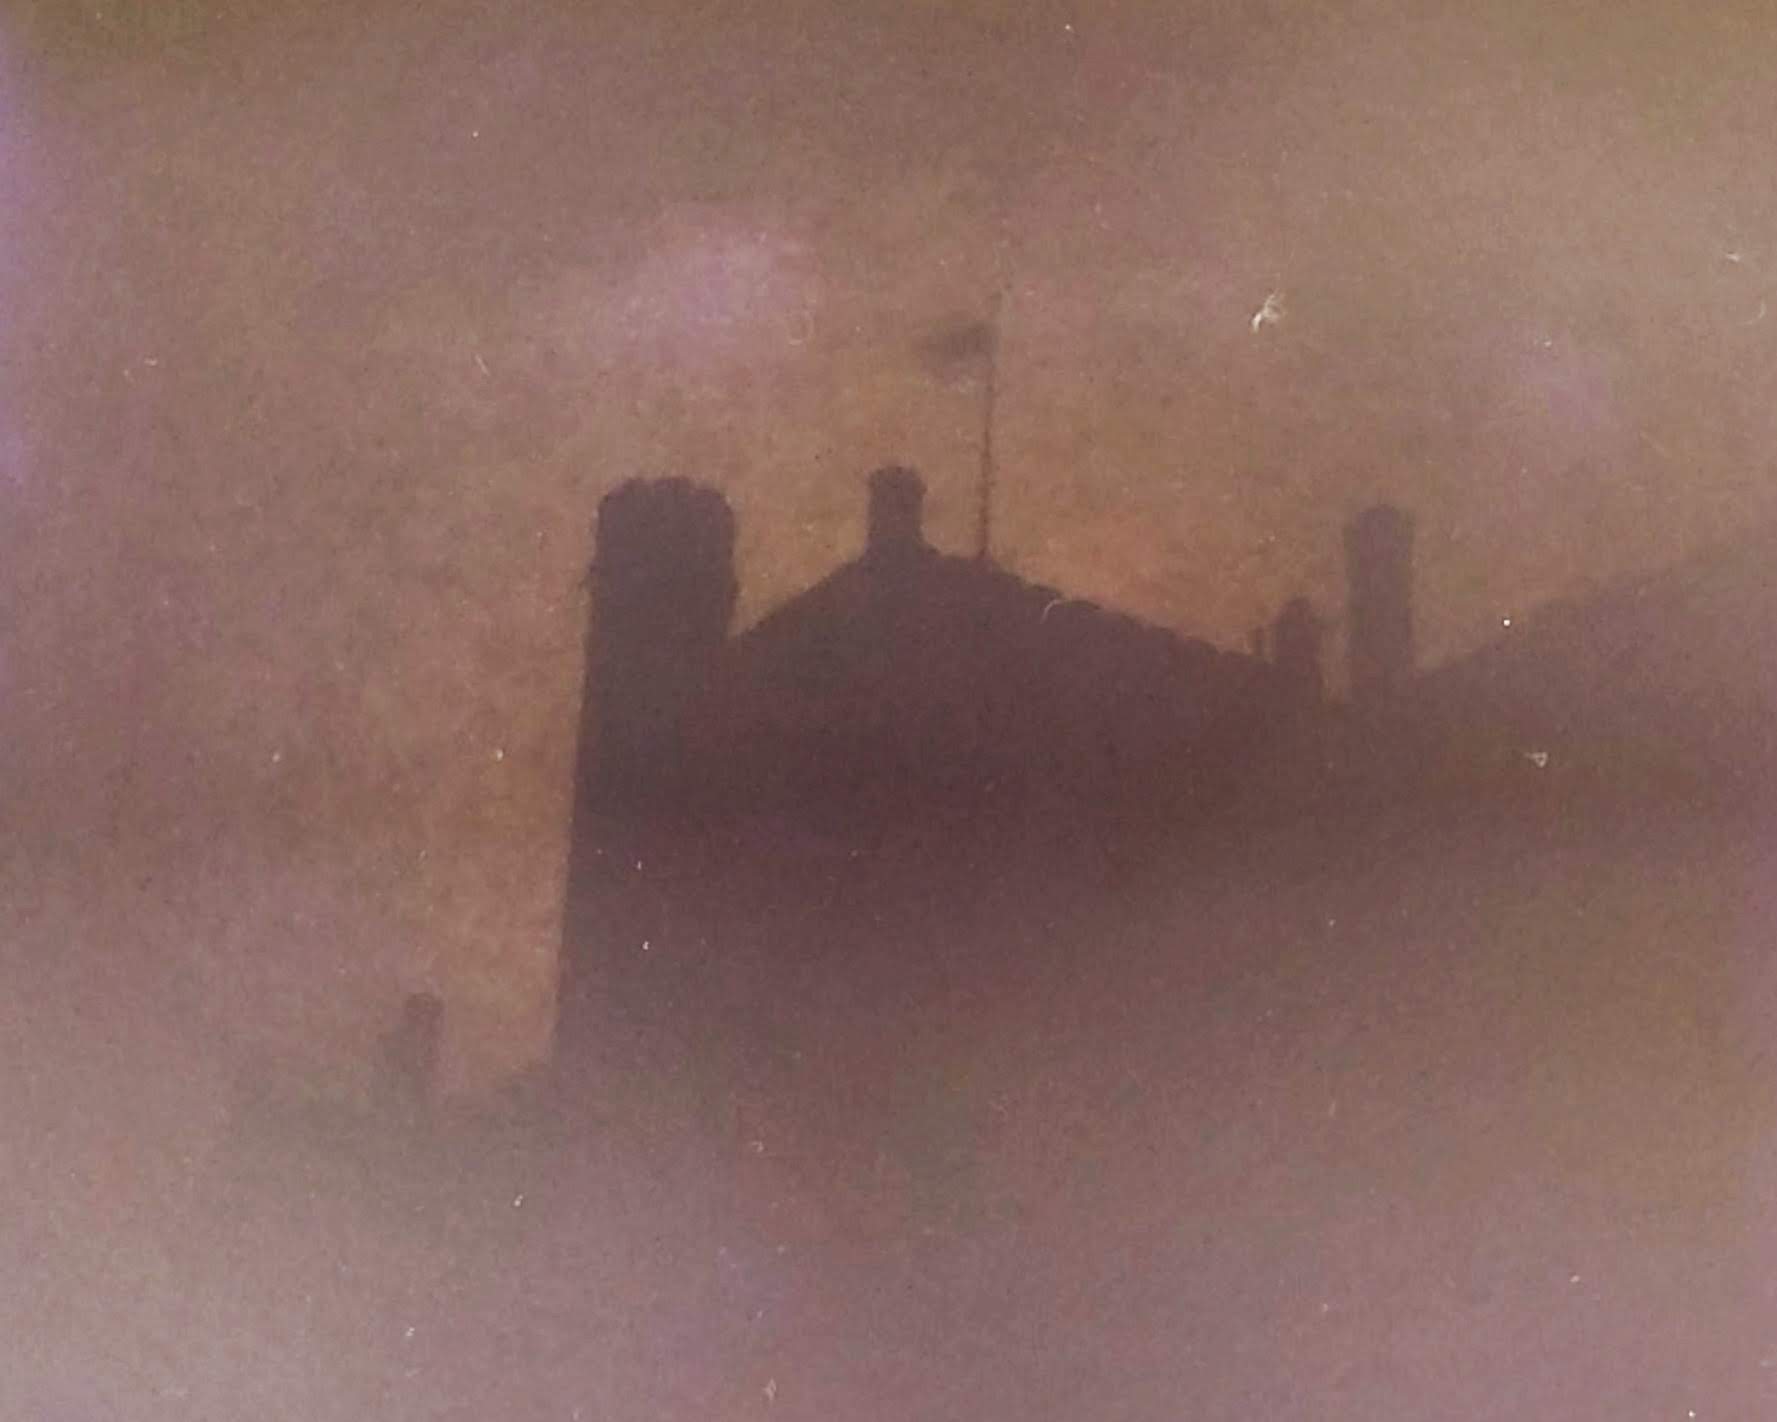
Older photographic lenses are not UV coated. Rolleicord V, f/2.8 50 minutes, 9AM.
So, armed with a how-to from Nag on the Lake, I set to work.
Using a lens assembly from a TV projector that a friend had salvaged and given to me some years earlier, I assembled my first home-brew camera:
Almost immediately several problems came to light. First off, the Solarprint paper has a matting on it, so every image has a texture that is particularly noticeable. Second, the projection lens, whilst very bright, introduced all sorts of distortions, and was particularly hard to get a focal plane from.
1 hour exposure, projector lens.
1 hour, f/1.5 38mm, cropped 25% 'Solarprint' paper, showing the matting pattern.
Some further research and experimentation followed - first with an A4 Fresnel lens, and then a 90mm magnifying glass. Both of these proved to be remarkably unsatisfactory. I also had some unassembled Google Cardboard VR headsets laying around, and so I built another camera using the lenses from that - initially as a rough stereopair, and then as a single lens. This little 25mm lens proved to be much more useful than the larger lenses had been. What was going on?
The answer lies in the Inverse-Square Law, and exactly what an 'f-number' is. Both the Fresnel and the 90mm lenses have quite long focal lengths - some 350mm for the 90mm magnifying glass. This gives an f-number of nearly 4 - an f/4 lens. The little 25mm lens from the headset kit has a focal length of only 38mm - an f-number of around 1.5. This means it produces an image nearly eight times brighter than the 90mm lens.
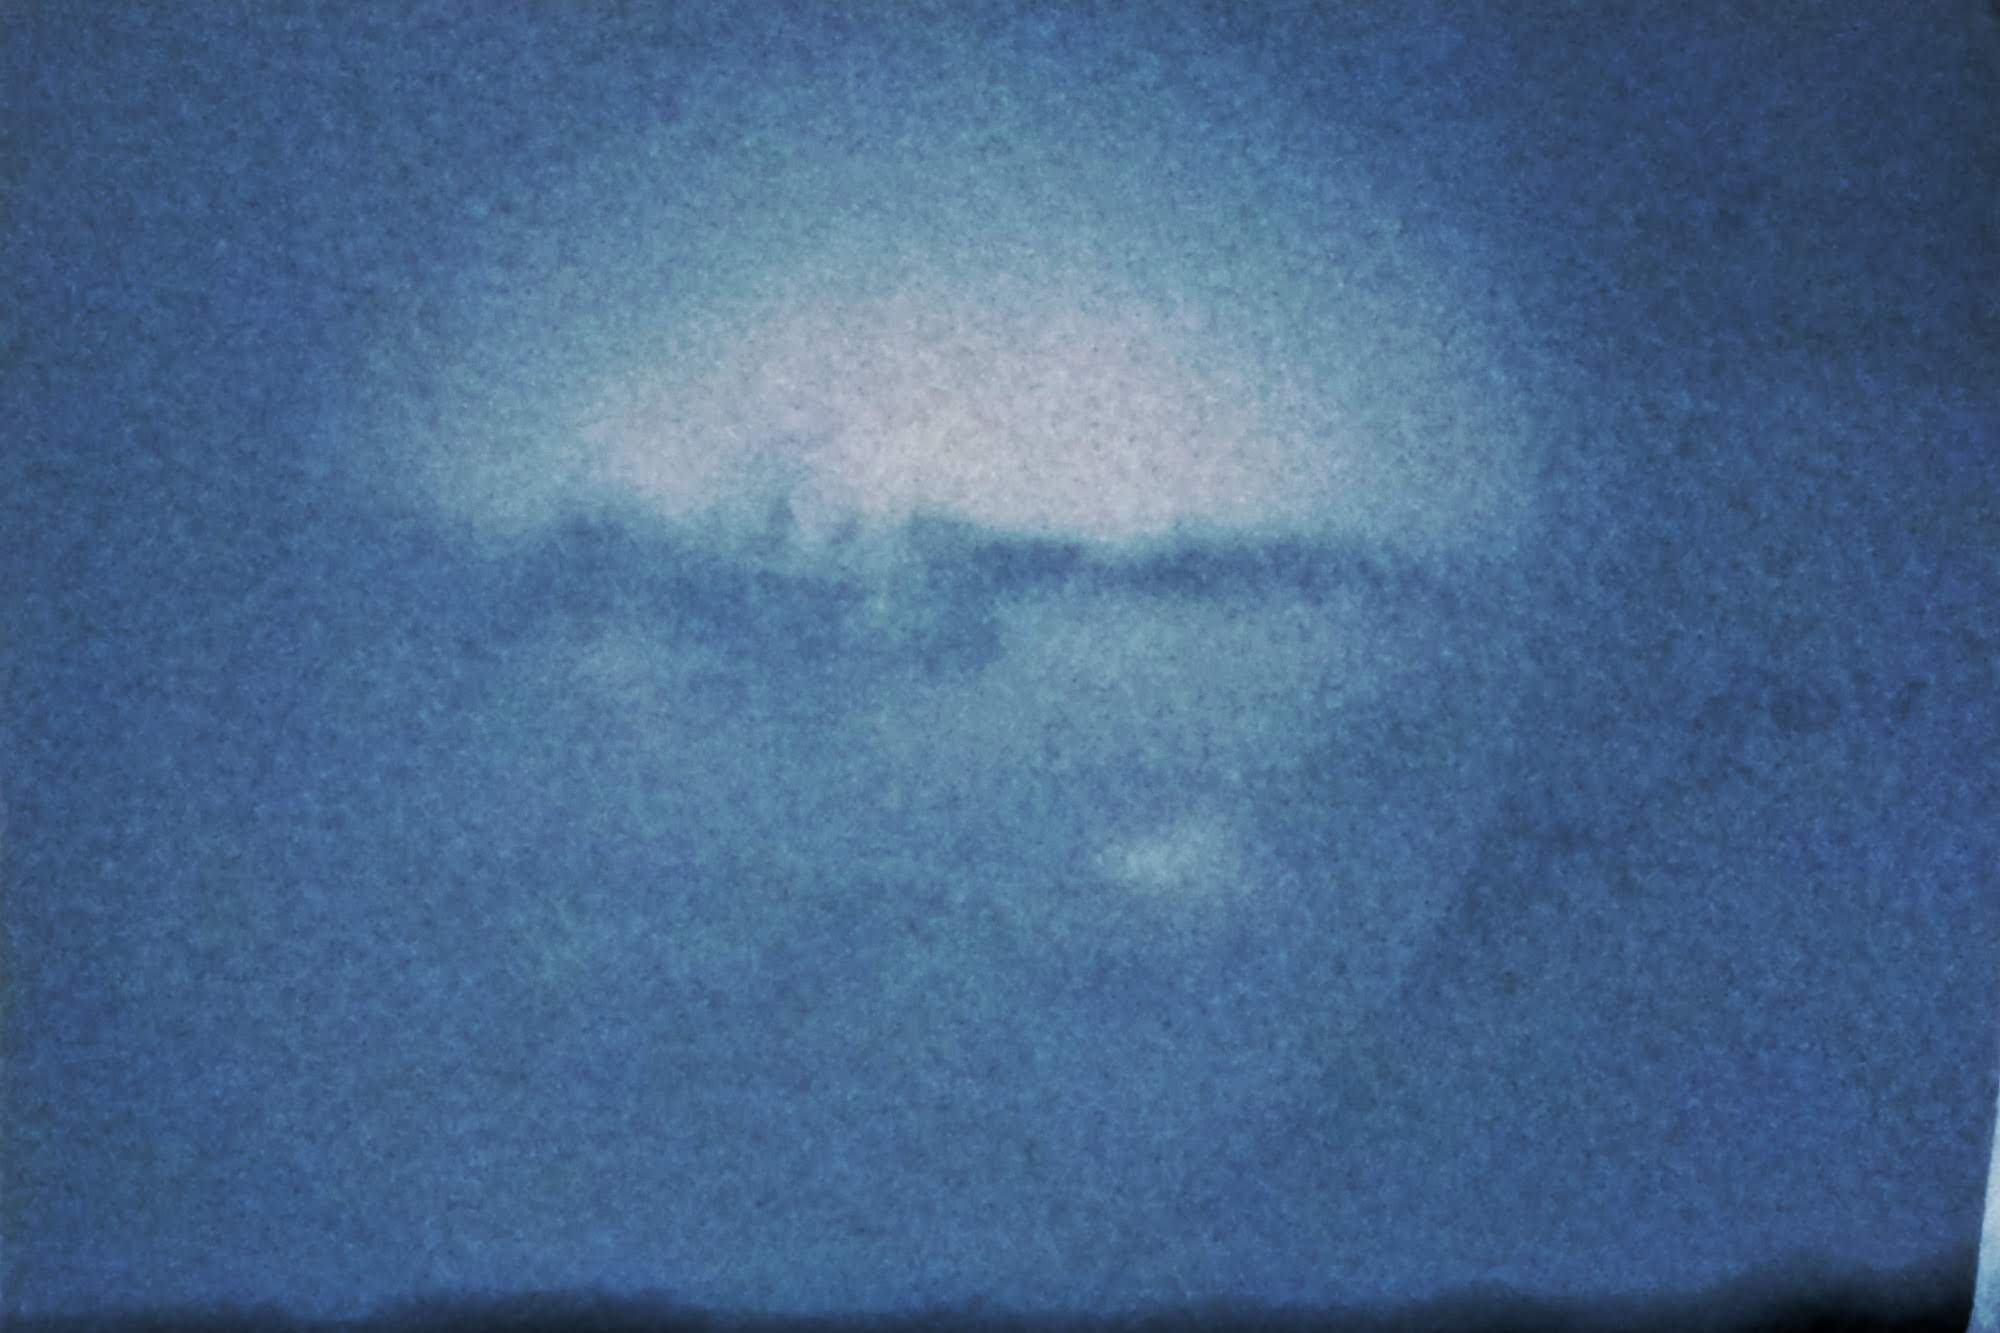
1 hour exposure, 25mm f/1.5, 9am start.
For cyanotype photography, this is a critical point - as the extremely slow nature of the chemistry requires very long exposures - an hour is a typical minimum around midday in summer in Perth Australia to get a strong exposure.
There is a down side to the using these very simple lenses with no aperture control though. They have significant barrel distortion and edge blurring. Sadly, other than grinding your own custom lenses, there is no particular solution for this. If you do go down this path, please let me know how you go!
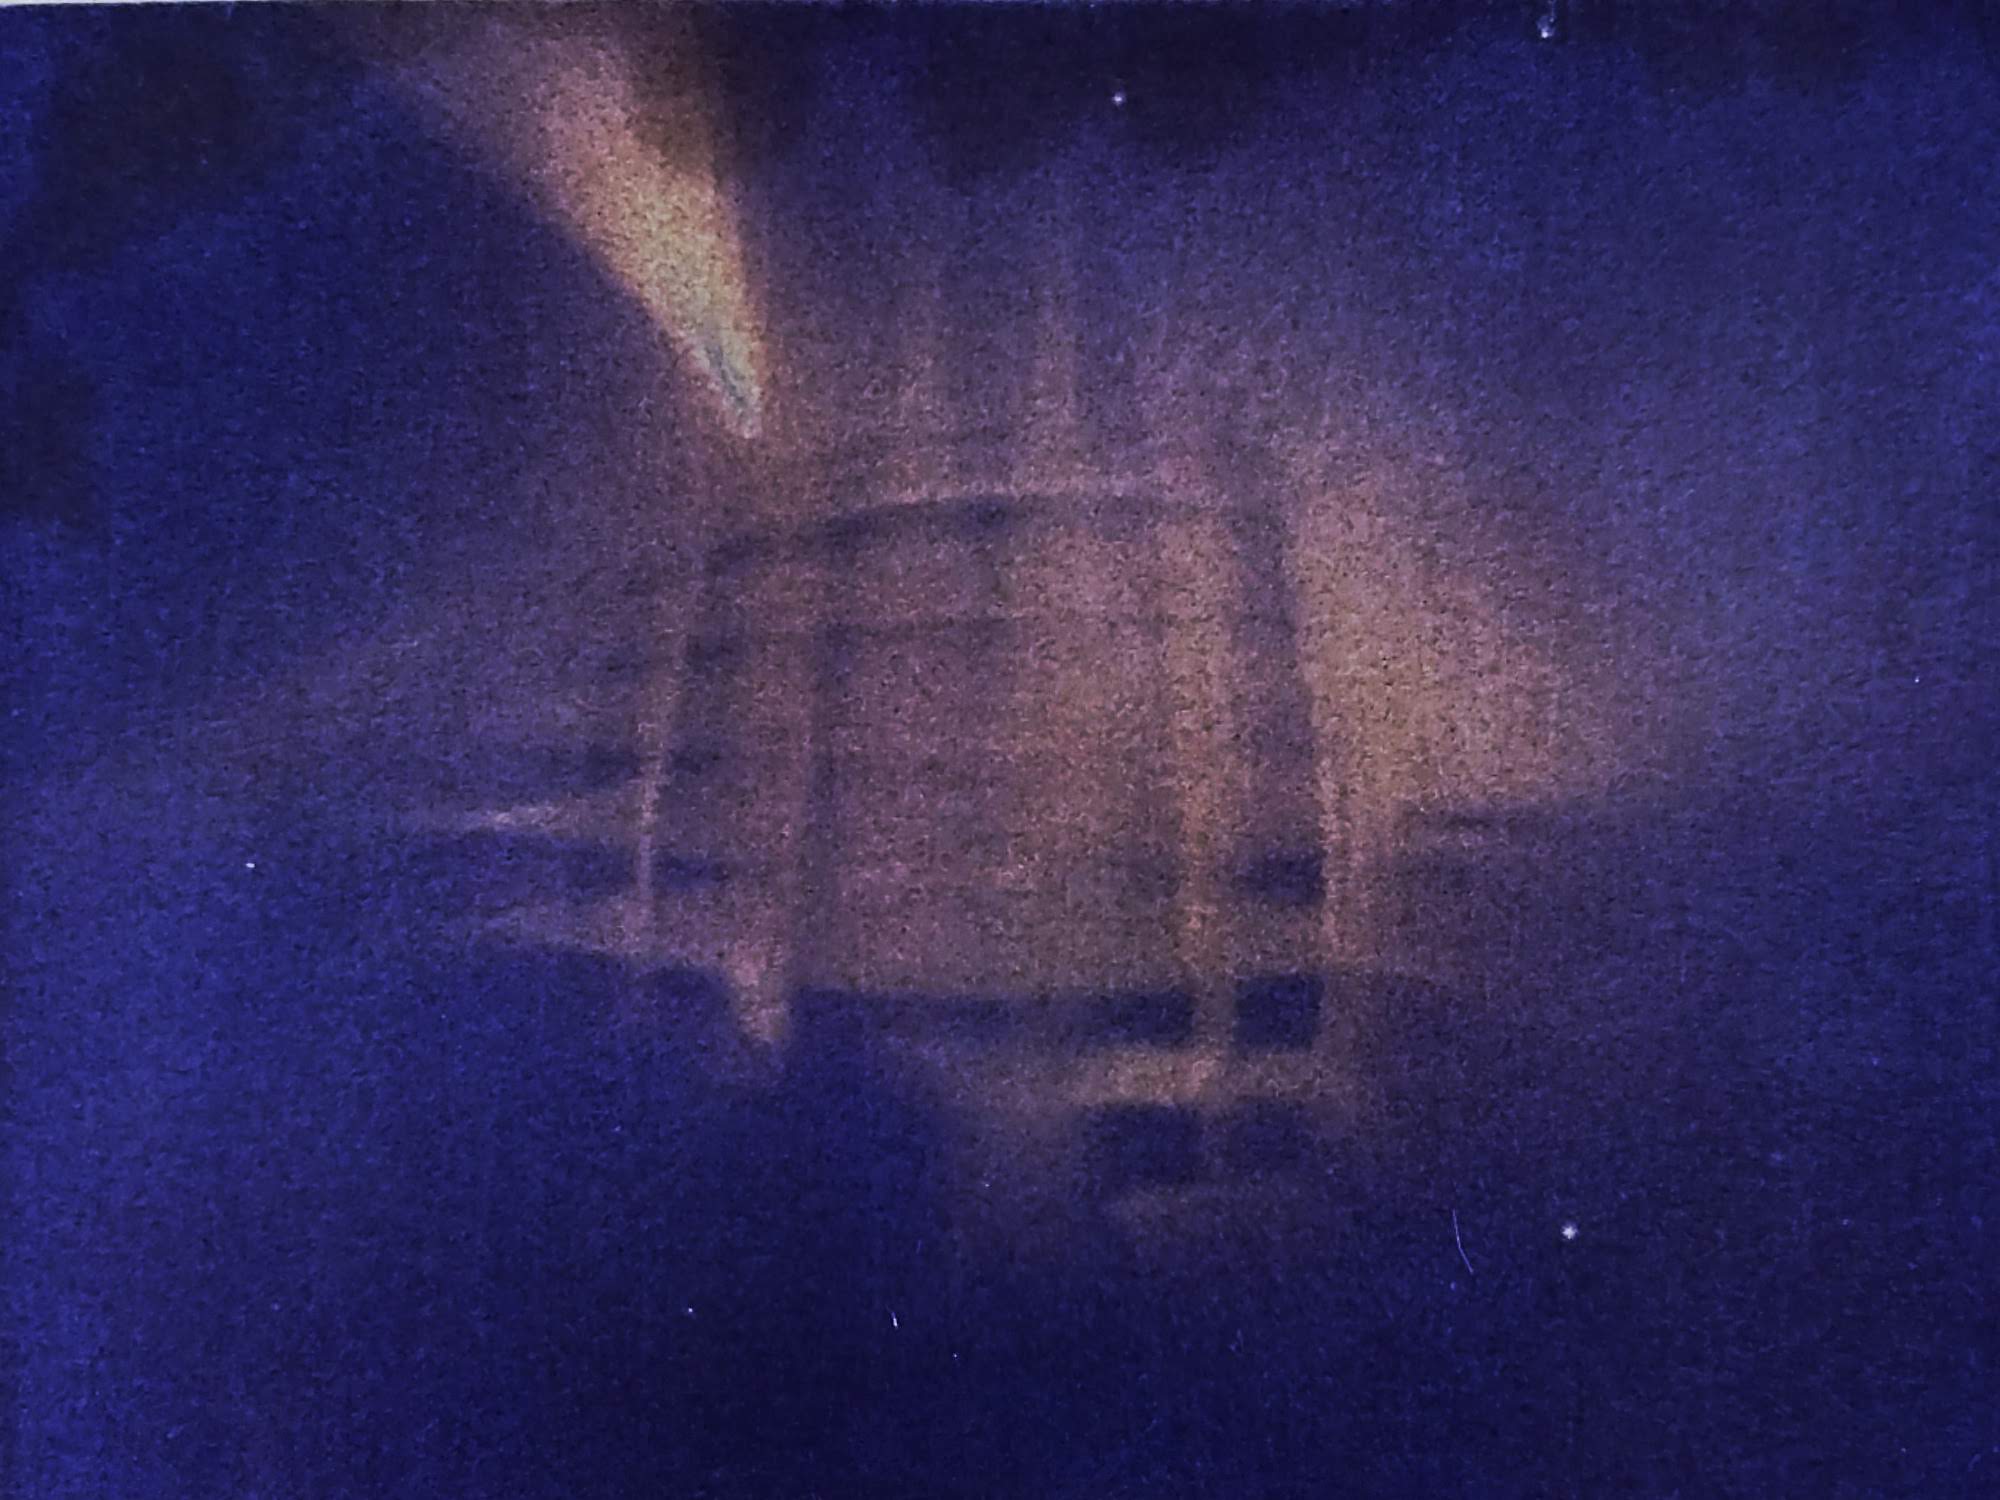
25mm, f/1.5. 1.5 hours through double-glazing. Barrel distortion is clear. Note also the significant reflection flare from one window.
Moving on from the lens characteristics, there are some significant advantages to the cyanotype process. First is the processing - you rinse the print in cold water. That's it really. Second is that if you make your own paper, the chemicals are cheap and (relatively) non-hazardous - don't go drinking them, but they typically won't burn your skin or anything like that. Third is that you don't need a darkroom - just a drawer where you can dry the prepared paper. These make it a very simple process to experiment with. With the aid of a small dish, you can even process in the field. A typical AUD30 commercial batch of the chemicals will cover 50-100 A3 sheets - or several hundred A7 sheets, which is a typical size for a 25mm lens. Fourth is that your camera can be extremely simple. You don't even need a shutter - just a lens-cap.
Picking the right paper is also important - my experiments so far suggest that Arches Aquarelle Grain Satine Hot Pressed 185gsm paper is at least an acceptable starting point. Unless you manage to source a huge and very bright lens, a pad of A5 sheets is a good starting size, with each page yielding 4 A7 frames.
There are two excellent paper analyses
here and
here, but both are from the perspective of printing, so take into consideration the smaller scale that your typical paper negative will be working at.
As far as the exact process goes, I am still experimenting - there is the classic process, the Rex process (where one of the two chemicals is put on the paper, and the other used as a wash), variations on the proportions of the two parts, and the
Mike Ware New Cyanotype process. All of these are perfectly usable, and have differing characteristics. Overall, I have found that the New process exposes somewhat faster than the Classic, but does not wash as well. This is not a showstopper, but just something to be wary of. It is also a lot more sensitive to the sort of paper used as a substrate.
Slyka has done some excellent work in this area. And Dr. Mike Ware's resources on the chemistry of cyanotype are invaluable.
On the topic of processing, though, there is one thing that should be said: Always scan (in some way - I use the 'Photoscan' app, for example) the image before washing, as well as after. If you have underexposed a little, you can lose a lot of detail in the washing process. Also, you can digitally invert the image to create a positive sepiatone. If you only invert the luminace, you can get a blue/black positive. And don't forget to left/right flip the image - because it is captured on the front of the paper, it will be reversed.
Original, f1.5, 75 minutes, 11am, post wash, inverted, luminance inverted.
That wraps my introduction.
Part two will cover building a camera, how best to use it, and supply links.
Part 3 has some final thoughts.


Comments
Post a Comment