Posts

Showing posts with the label solargraphy

Gravity Discovery Centre Observatory Tour

Image
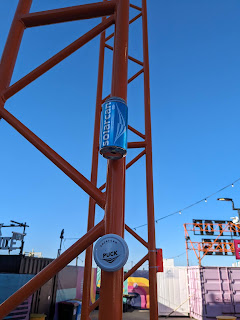
Last night we visited the Gravity Discovery Centre and Observatory in Gingin for one of their Observatory Tour nights. You get a full access ticket to the discovery Centre as a part of the tour ticket, so we made use of that to have a look around at the exhibits. The whole thing is a bit like a very focused SciTech or Powerhouse Museum sort of idea. The GDC at sunset, the Leaning Tower to the right, and the Lecture Dome and Giant Pendulum to the left We also collected the five solargraph cameras that we set up six months ago. Three of these were Solarcan Pucks, and two were home-brew can cameras. One of the Pucks was, alas, full of water, and the film was washed away. One of the can cameras was also heavily water filled, while the other had been partially crushed. The other two Pucks were in perfect condition. Six month solargraph of the giant pendulum, with the Leaning Tower in the background. What was unexpected was that both can cameras had acquired significant populations of tiny...
A new Solargraphy project

Image
 This evening we visited the wonderful Rooftop Movies. Before the show, though, thanks to the organisers , we set up a dozen or so solargraph cameras around the cinema.  These are a mix of Solarcan Pucks, Solarcan Cans, and some homebrew can cams.  The plan is to recover half of them in a fortnight to check alignments and framing, and the rest on the last day. As a special treat to ourselves and the Rooftop Movies team, we brought one Puck in after just three hours. Here is the result.

The Leaning Tower of Gingin and the Sun

Image
  A six-month solargraph taken at the Gingin Gravity Discovery Centre, looking North at the Leaning Tower. Many thanks to the GDC and AIGO for letting me set the cameras up back in December! Scanned using Google Photoscan, and post-processed in Snapseed.

Summing Up What Sort of Photography I Do!

Image
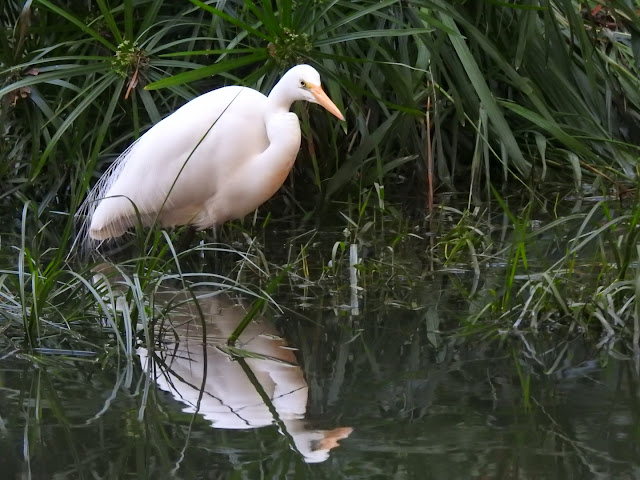
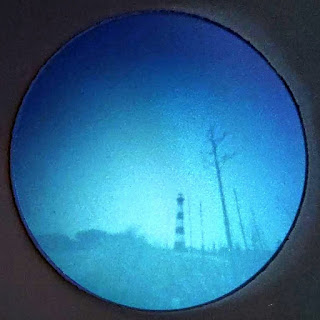
 Folks may have noticed that very little of my photography these days is "normal".  I do still take conventional photos with a fairly ordinary digital camera, but that is mostly my nature photography, and I do not often talk about that.  Great Egret - Herdsman Lake, June 2023. Nikon P900 I also do some astrophotography, up until recently using my mobile phone,  Milky Way, Pixel 6a, Guilderton, June 2022. but more recently with a Dwarf II 'smart telescope'.  Cat's Paw Nebula, Doubleview, June 2023, 98 x 15s frames, stacked in camera. These are not so much telescopes as dedicated astrophotography rigs controlled via a mobile app, and the results speak for themselves. They can align and stack multiple frames all by themselves, and compensate for significant levels of light pollution.  At the other extreme, I also experiment with in-camera cyanotype photography, using an 1830s era chemistry that is best known for making blueprints!  Mandurah Canal House, D...

Using a Solarcan Puck at lower lattitudes

Image
 The Solarcan Puck is a great little reusable solargraphy camera. It has a relatively wide aperture (f/90), so it can create  a decent image in a single day.  The limitation is that it has (for a camera of this type) a relatively narrow field of view - about 120 degrees.  This means that if you have it mounted vertically, you are going to be able to record angles up to 60 degrees above the horizon. This is fine if you are above about 50 degrees latitude. At about 50 degrees, the sun will never be higher than about 60 degrees above the horizon. Why that value? Probably because of where Solarcan are based:  in Scotland.  What do the the rest of the world have to do then? You can restrict yourself to winter months - but that is not much fun.  The other alternative is to angle your Puck upwards. But how far?  In the worst case, on the Equator, the sun will be directly overhead at Solstice. This means that the Puck will have to be angled upwards at lea...

Homebrew Solargraph Can Camera Refinement

 The classic beer can solargraph camera is easy to make - as you can see from Justin Quinnell's video . Justin's design is simple and safe for kiddies. Unlike this one , although it has the advantage of being significantly more waterproof. But what if there was a better way? A way to get near-complete waterproofing (except for the pinhole), and still have the build be kiddie-safe? Enter a construction and roofing repair product called Flashing Tape - this is heavy-duty tape with an aluminium backing - making it completely light-proof. The adhesive is thick and conformal, meaning that you can get a complete seal with it.  This means that you can use Justin's tin-opening method (which leaves no sharp edges), and still get a complete water-and-lightproof seal.  I use two strips of 50mm tape at right angles to ensure a complete seal, but you could also use a single strip of the 75mm tape.  The only down-side is that you will need to use a knife to cut the foil off when y...

From solargraph to cyanotype

Image
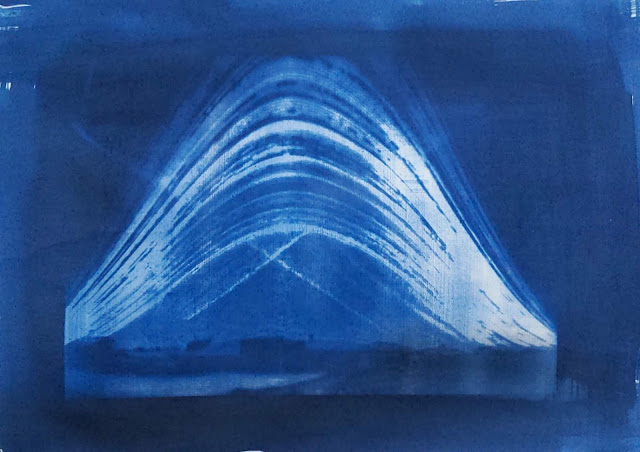
 I usually use cyanotype as an in-camera negative. This is a slow process - each exposure is a couple of hours at least.  I also shoot solargraphs. This is also a slow process, with exposures measured in days or months. Or even years.  As you all saw, a few days ago I brought in one of my six month solargraphs. The resulting image was dramatic enough, that I thought it would make a good cyanotype contact print. This is a very fast process by comparison. Exposure time in Perth in mid-summer is around 4-5 minutes.  Here is the result. I think I will do another print, this time on a tee-shirt!

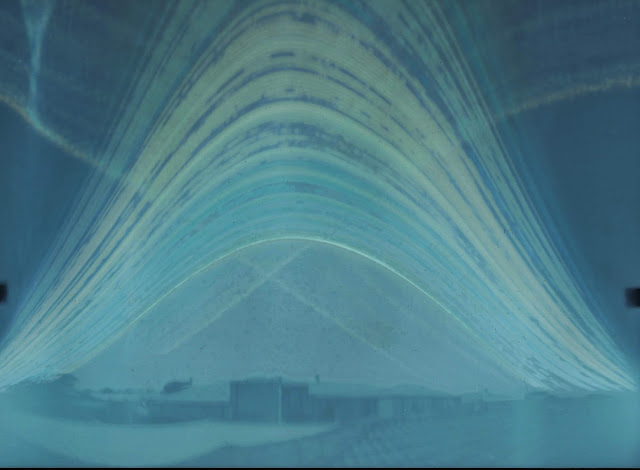
6 month solargraph, rooftop, winter to summer.

Image
  Taken with a Solarcan Eldorado over six months, starting on the Winter Solstice, and ending on Christmas day. View is looking across our roof to the neighbours.  Scanned with an Epson multifunction scanner, and processed in Snapseed. It is interesting (to me) that the Solarcan cameras have the pinhole only 4cm from the top of the 16cm can (about 2cm below the shoulder). Despite this, the Summer solstice, and the preceding month, are all too high in the sky to be fit in frame. From this I figure I'd need a can nearly 30cm tall  (and still the same diameter) to capture the entire arc.  I have now reloaded the can with some Ilford Multigrade III that I dug up from the back shed (which I have tested, and is still usable for this purpose).